Dwarven Forge Chamber of Sorrows paint scheme:
Updated on 2013/10/31
Not happy with the number of coats on the red with no primer - so re-did the painting with Army painter spray black primer as the 1st step - worked much better, able to do the red in 1 coat with a just few touchups. Also had a lot of people asking about sealers - took the original tiles I had painted and sprayed with sealer - look just as good, maybe a tiny bit shinier then the original factory paints after sealing, but hard to tell at table top distance. Also did a wall piece complete with metallic paint. Also painted up 2 4x6 large floor tiles.
 |
| Tiles primed with Army painter spray black primer |
 |
| Tiles primed with Army painter spray black primer |
 |
Here is painted with no primer - took about 3 coats to get a good coating, the red had trouble going into the low points - next time may start with primer. I recommend army painter spray primer - its on the recommended list for DF tiles
 |
| Here is painted with primer - army painter black spray primer. Then the layer of red on top - much easier to do...... The specially formulated Pokorny paints may not need primer, but it makes it easier when using "other" paints. ;-) |
|
 |
| used a blow dryer to dry the paint |
 |
Next coat for the black - didn't do dry brush, but wiped off the brush on the edge of my paint bowl so that it wasn't dripping. Brushed straight across and didn't push into the low points. Used a Grumbacher 6 filbert brush.
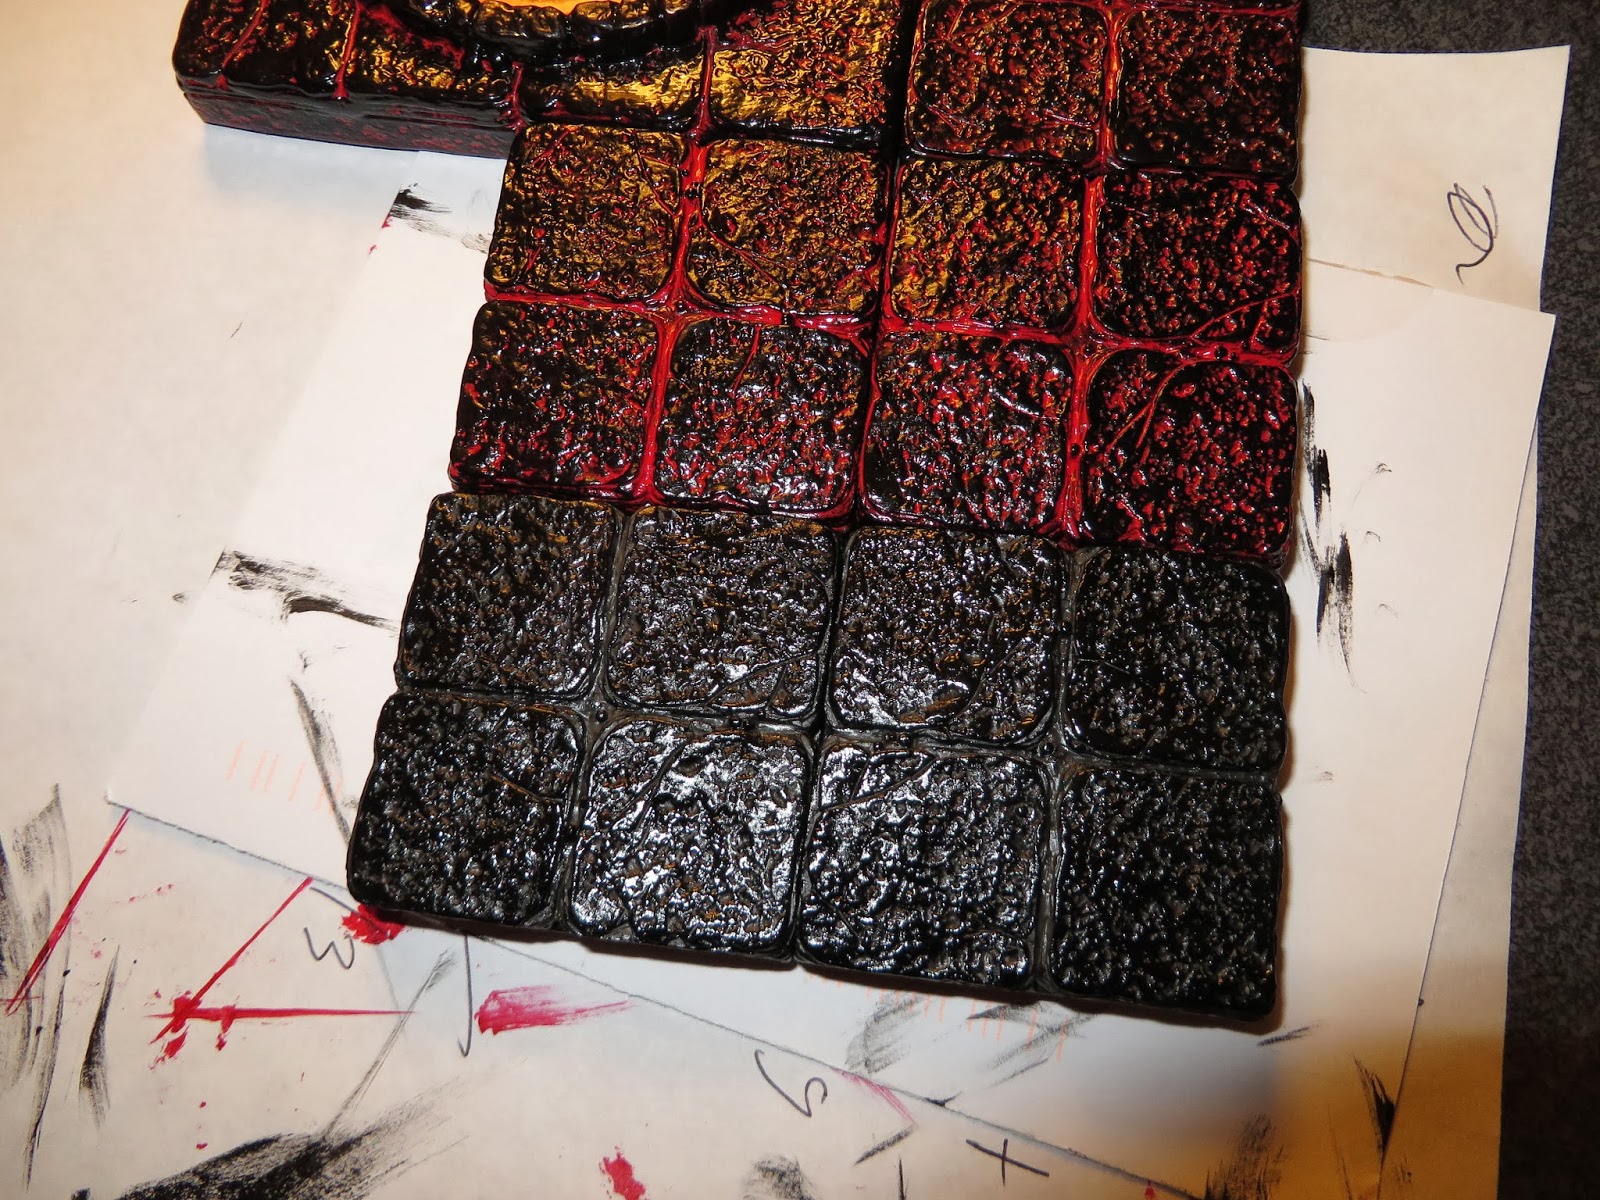
Top 2 are factory painted, and the bottom 2 I painted
 |
| Top 2 are factory painted, and the bottom 2 I painted |
|
 |
| 2 CoS hand painted 4x6 floor DF tiles! |
 |
| used a blow dryer to dry the paint |
 |
| Top 2 are factory painted, and the bottom 2 I painted |
 |
| Top 2 are factory painted, and the bottom 2 I painted. Dwarven Forge Chamber of Sorrows! I couldn't tell them apart easily, so I labeled on the back of the tile the ones I did. |
 |
| Tried 2 with just the black to see about making some transition pieces - not super impressed, will keep looking |
 |
| And what you were all waiting for - here is the paint I used - Liquitex glossies - red, black |
 |
| Here is once the tiles were sealed - used Rust-Oleum Zinsser 408 Bulls Eye Clear Shellac Spray. |
 |
| Top 2 are factory painted, and the bottom 2 I painted. Here is once the tiles were sealed - used Rust-Oleum Zinsser 408 Bulls Eye Clear Shellac Spray. |
 |
| Top 2 are factory painted, and the bottom 2 I painted. Here is once the tiles were sealed - used Rust-Oleum Zinsser 408 Bulls Eye Clear Shellac Spray. |
 |
| For the walls - I wasn't planning on doing any, I just wanted more CoS floor pieces... but for the walls - I didn't have a paint that looked like an exact match, but DecoArt - Dazzling Metallics: Rich Espresso looked to be pretty close. |
 |
| DecoArt - Dazzling Metallics: Rich Espresso - factory paint on the left, my paint on the right. For some reason the wall pieces I got had a tiny bit of wash on the dungeon floor part, so they were actually a little darker then the other dungeon floor tiles. Mine on the right is actually a closer match, but a light black wash could easily be added. Closeup the match is pretty close, and since I'm not planning on doing any more CoS wall pieces, I'll call it good. Especially from table top distance I couldn't tell the difference. |
 |
| factory paint on the left, my paint on the right. |
 |
| factory paint on the left, my paint on the right. |


3 comments:
Those came out great! I've been hoping for a good tutorial on these. And thanks very much for including which paint.
that's great! Don't forget to drybrush some gold highlights on the walls....
I enjjoyed reading this
Post a Comment